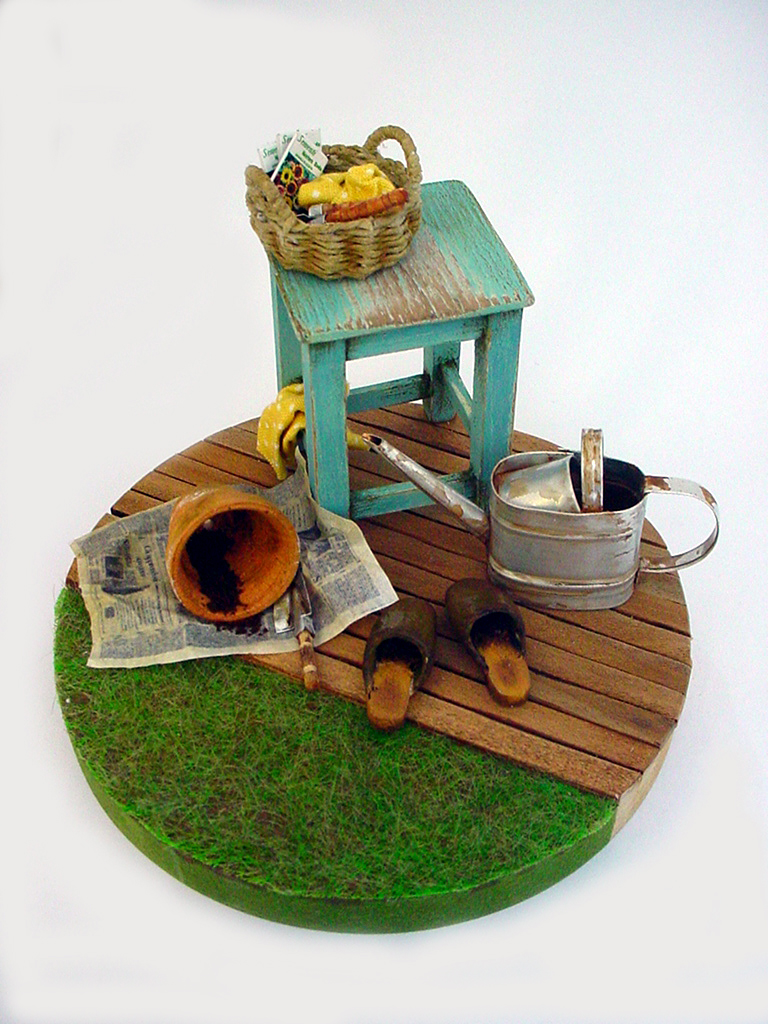
Chicago International 2008- Cucchi-Michieli Workshop
Ten years ago I run this workshop at Tom Bishop’s Chicago International together with Silvia Cucchi. I wish to celebrate this anniversary publishing the watering can tutorial after the basket one, hope you enjoy it! P.S. sorry for the low pics’ quality , they have 10 years as well.
STEP 1 – cut one thin metal foil strip 3 1/2′ long and and 1 1/4 ‘ high
STEP 2a – fold 1/8′ as shown in the pic.
STEP 2b – using a ruler and a thin spatula makes easy get a straigh folding.
STEP 3 – Smoothe the folded part pressing it with the spatula. This makes the edge more pleasant to see than a plain cutted edge. Repeat on the other side.
STEP 4a – If you wish to add some embossed lines…
STEP 4b – … or decorations this is the right moment to make them.
STEP 5a – bend the strip around a thick pencil, here I used an highlighter.
STEP 5b – overlap a little bit and cut off if necessary any exceeding lenght. Glue and press until the joint is completely dry.
STEP 6 – cut an half oval and fold the straigh edge as well as you did before for the strip’s edges.
STEP 7 – curl it on a round surface, the handle of a stylus ball tool or of a brush works great.
STEP 8 – With the help of a tweezer insert it in the watering can body then tun and lift it until it is in the right position. It should stay in position by itself. If not it is just too bended so widen it a little until it adheres perfectly by itself.
STEP 9 – Turn it upsidedown an put some dots of a strong glue to fix the contact points.
STEP 10 – Cut a 2′ long thin metal strip and bend one of the longer sides, flatten the bending and cut as shown in the picture.
STEP 11 –: repeat the bending on the other side. It could seem a little tricky to do but do not worry, you will get it!
STEP 12 – flatten the tiny strip you got and bend it on a round surface.
STEP 13 – put some glue on the ends of the bended strip, insert it into the can, put in place and let the glue dry.
STEP 14 – now fold and bend another strip as you did from step 10 to step 12 but add some more bending as shown in the pic. The red line shows to pay attention: this will be the handle of your watering can so the folds must be aligned on an imaginary straight line.
STEP 15 – Put a dot of glue on the folds on the side that will touch the can and put it in place as shown in the pic. Let the glue dry.
STEP 16 – and now ylet’s make the sput: cut a rectangular piece of thin metal foil, place on it a wooden skewer as shown in the pic…
STEP 17 – …and start to wrap the foil on the skewer, make it adhere as well as you can.
STEP 18 – Once the skewer is completely wrapped cut off the exceeding foil and complete the folding overlapping a little bit so the skewer inside will not show off
STEP 19 – pull back the skewer a little and then cut the pointed edge as shown in the picture.
STEP 20 – the cutting will squeeze the spout of course but now push forward again the skewer and the hole will show again.
STEP 21 – put the spout against the can and decide where to apply the second cut…
STEP 22 – …and cut.
STEP 23 –remove the skewer, cut its pointed end, cover it with glue and re-insert it into the spout. This is my trick to strenghten the spout and offer a wider bonding spout surface.
STEP 24 – glue the spout and let the glue dry completely. Sorry for the very low pic quality
STEP 25 – at each step always check if everything is correctly aligned and if not fix it.
STEP 26 – Now take a little bunch of air dry clay, I feel very comfortable with FimoAirLight®, and roll a thick layer.
STEP 27 – Use the watering can as a cookie cutter ….
STEP 28 – remove the outer exceeding clay and let the one inside to dry completely. HINT – It may happen that after drying the clay tends to shrink a little as it happen to all the air dry clays, no worry, remove the bottom, spread a little bit of glue on its border and then reinsert the bottom. I prefer to do this kind of bottom because most of the times we glue our items in a miniature scene and this kind of bottom offers a very good bonding surface, it helps to make the watering can stronger and, last but not least, it is no tricky at all to make it. Once dried you may paint it in a dark color and no one will notice it is thick.
Philadelphia Miniaturia 2012 Workshop
Once you have learned the process you may apply lot of variations as shown in this pic, these watering cans are the ones I teached in Philadelphia Miniaturia Fair in 2012. As you can see by changing the shape or the aging-texture you may get very nice items to use in your miniature settings
So sorry for my very late answer, had problems in accessing my website for a long time.
This thin foil is used to teach embossing techniques, it is quite cheap and I find it in hobby stores or fine arts shops
So sorry for my very late answer, had problems in accessing my website for a long time.
I use a gel instant glue like Pattex Super Glue, it is quite flexible and acts like soldering for these tiny pieces.
Whatever instant glue you use the important thing is that it is a gel and remains flexible after drying.
Lo siento por mi respuesta tardía, tuve problemas para acceder a mi sitio web durante mucho tiempo.
Intentaré agregar español usando el traductor de Google, espero que resulte en una buena traducción ya que no hablo español lo siento
Questo sito utilizza cookie per finalità tecniche e, con il tuo consenso, anche per il conteggio anonimo delle visite (vedi privacy policy). Puoi acconsentire all’utilizzo di tali tecnologie utilizzando questo pulsante Accetta. oppure continuare rifiutando tutto Rifiuta o personalizzare la tua scelta Personalizza .
Privacy & Cookies Policy
Privacy Overview
This website uses cookies to improve your experience while you navigate through the website. Out of these, the cookies that are categorized as necessary are stored on your browser as they are essential for the working of basic functionalities of the website. We also use third-party cookies that help us analyze and understand how you use this website. These cookies will be stored in your browser only with your consent. You also have the option to opt-out of these cookies. But opting out of some of these cookies may affect your browsing experience.
Necessary cookies are absolutely essential for the website to function properly. This category only includes cookies that ensures basic functionalities and security features of the website. These cookies do not store any personal information.
Any cookies that may not be particularly necessary for the website to function and is used specifically to collect user personal data via analytics, ads, other embedded contents are termed as non-necessary cookies. It is mandatory to procure user consent prior to running these cookies on your website.


Hi Manuela, where did you buy this foil ..?
– thin metal foil strip-
Please let me know.. thanks
So sorry for my very late answer, had problems in accessing my website for a long time.
This thin foil is used to teach embossing techniques, it is quite cheap and I find it in hobby stores or fine arts shops
I love your pieces! You have a very easy to follow tutorial. What type of glue do you use to bond the metal pieces?
So sorry for my very late answer, had problems in accessing my website for a long time.
I use a gel instant glue like Pattex Super Glue, it is quite flexible and acts like soldering for these tiny pieces.
Whatever instant glue you use the important thing is that it is a gel and remains flexible after drying.
Me gustaría que fueran en español
Lo siento por mi respuesta tardía, tuve problemas para acceder a mi sitio web durante mucho tiempo.
Intentaré agregar español usando el traductor de Google, espero que resulte en una buena traducción ya que no hablo español lo siento
Thank you,i want to meet you …You are good tutor.
Thank you, I run many workshops in these past 35 years and still love doing it expecially with newbies:-)
Tomato paste tubes are perfect to recycle for this project!